Table of Contents
ToggleA well-designed BBQ area turns a backyard into a gathering spot worth using year-round. Whether grilling burgers on a Tuesday or hosting a weekend cookout, the right setup makes all the difference. This guide covers practical layout strategies, shelter options, seating arrangements, and finishing details that create a functional grilling zone. The focus here is on building something durable and usable, not just adding decorative touches that fall apart after one season.
Key Takeaways
- Position your backyard BBQ area 10–15 feet from the house on level, non-combustible ground to balance convenience, safety, and smoke control away from seating.
- Built-in grill islands (starting at 6×2.5 feet) with defined work zones for prep, cooking, and serving dramatically improve functionality and reduce unnecessary movement during entertaining.
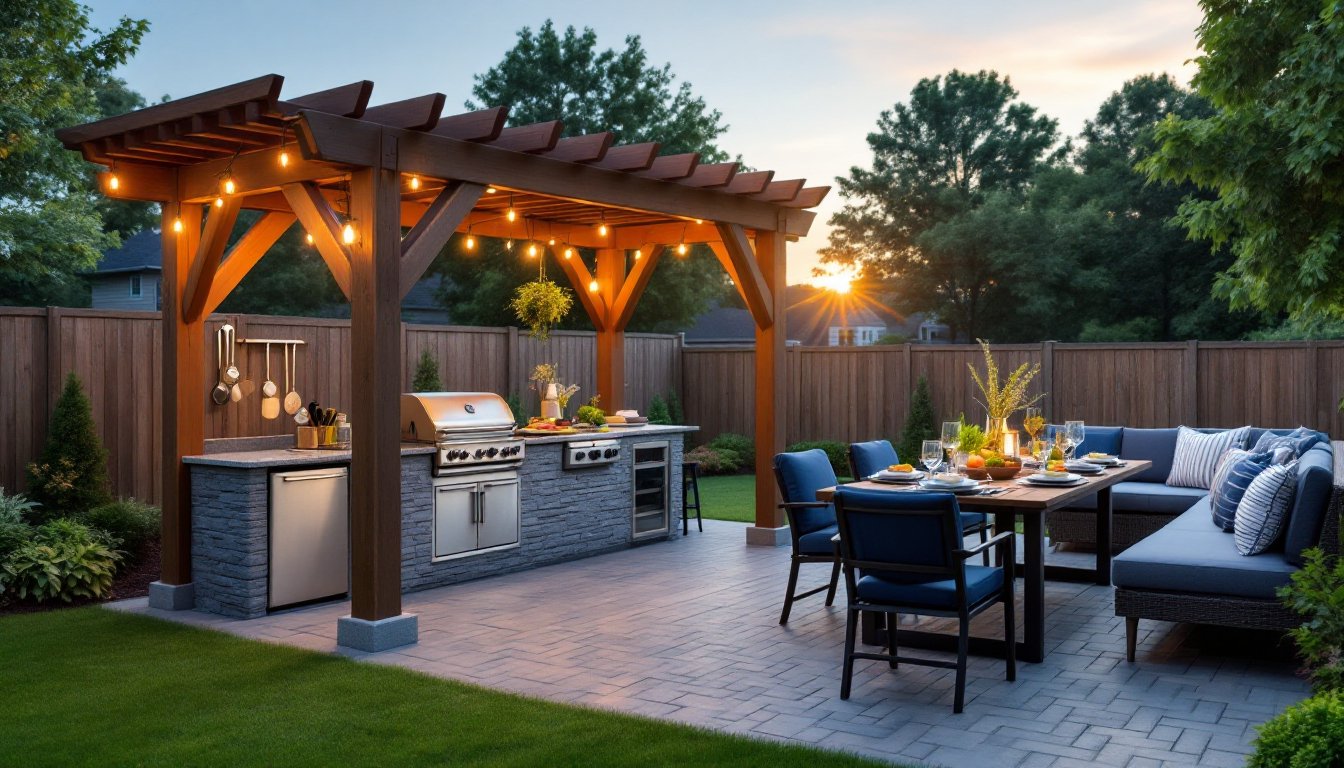
- Add overhead cover like pergolas, pavilions, or shade sails to extend usability year-round and protect your grill equipment from weather while keeping guests comfortable.
- Layer three types of outdoor lighting—task lights above the grill (minimum 800 lumens), ambient string lights for mood, and low-voltage accent lights—to safely extend grilling hours into the evening.
- Invest in durable, weather-resistant materials for seating and storage, such as treated lumber, aluminum, and weatherproof deck boxes, to ensure your backyard BBQ area stands up to seasonal changes.
Planning Your Perfect BBQ Zone: Layout and Location Essentials
Location dictates how much someone will actually use a BBQ area. Choose a spot 10–15 feet from the house to balance convenience with safety. Closer than that, and smoke drifts into open windows. Much farther, and hauling food and supplies becomes a chore.
Check for level ground or be ready to pour a concrete pad or build a paver base. A sloped BBQ station is a recipe for tipped grills and spilled drinks. Most codes require grills to sit on a non-combustible surface, concrete, pavers, or gravel work. Wood decking alone doesn’t meet fire safety standards in many jurisdictions.
Consider prevailing wind direction. If the deck or patio sits downwind of the grill, guests spend the evening dodging smoke. Position the cooking zone so smoke blows away from seating areas. Also factor in proximity to utilities. Running a gas line or electrical for lighting might require a licensed plumber or electrician and a permit, depending on local codes.
Define work zones: prep, cook, and serve. A classic triangle layout puts the grill, a counter or table for plating, and a sink or cooler within a few steps of each other. This mirrors the kitchen work triangle and cuts down on unnecessary movement. For smaller yards, even a simple outdoor entertaining setup can incorporate these zones efficiently.
Built-In Grill Stations That Make Entertaining Easy
A built-in grill island anchors a BBQ area and adds serious functionality. Typical dimensions start at 6 feet long by 2.5 feet deep, with a grill insert in the center and counter space on both sides. Use concrete blocks, poured concrete, or steel framing clad in stucco, stone veneer, or tile for the structure. Avoid wood framing directly around the grill, it’s a fire hazard and won’t meet most building codes.
Include a 36-inch counter height workspace for food prep, and add an undercounter refrigerator or storage cabinet to keep condiments and tools within reach. Many built-in barbecue designs incorporate side burners, making it possible to cook sides without running back to the kitchen.
If plumbing a sink into the island, run a drain line to the house sewer or a dry well. This often requires a permit. A simpler option: install a small hand-washing station with a garden hose hookup and a bucket drain.
Grill inserts range from basic propane models to kamado-style ceramic grills and infrared burners. Match the BTU output to cooking needs, most residential grills run 30,000–60,000 BTUs. Higher isn’t always better: it just means faster preheating. For charcoal fans, a built-in Santa Maria–style grill with adjustable grates offers hands-on control.
Run natural gas or propane to the island for convenience. A licensed plumber should handle gas line installation. Always include a shutoff valve within reach of the grill.
Shelter and Shade Solutions for Year-Round Grilling
Grilling in the rain or blazing sun isn’t fun. Adding overhead cover extends usability and protects equipment. A pergola offers partial shade and can support climbing plants for additional cover over time. Standard lumber for a freestanding pergola includes 4×4 posts, 2×6 or 2×8 rafters, and 2×2 cross slats. Anchor posts in concrete footings at least 12 inches deep (deeper in cold climates to get below the frost line).
For full weather protection, consider a gabled or shed-roof pavilion. Frame it with 2×6 or 2×8 rafters on 16- or 24-inch centers, and roof it with architectural shingles or metal panels. Metal sheds heat, so add a ceiling fan or open gable vents for airflow. Check local setback requirements, some jurisdictions treat covered structures over a certain square footage as accessory buildings requiring permits.
Retractable awnings work for flexible shade. Mount the housing to a ledger board attached to wall studs or a freestanding post frame. Fabric models offer 80–95% UV protection and resist mildew if made from solution-dyed acrylic.
A simple shade sail costs less and installs faster. Use marine-grade stainless steel hardware and anchor posts in concrete. Tension the sail at a slight angle so rainwater runs off. Concepts seen in outdoor living spaces frequently feature sails or pergolas as cost-effective solutions.
If building a roof, make sure it’s at least 7 feet above the grill surface to allow smoke and heat to dissipate. Any lower, and heat buildup can damage the structure or create a fire hazard.
Seating and Dining Areas to Keep Guests Comfortable
Comfortable seating keeps guests from drifting inside. Plan for 18–24 inches of seating width per person at a table. A standard 6-foot rectangular table seats six comfortably, eight if chairs are narrow.
Choose materials that handle weather. Treated lumber, cedar, teak, or powder-coated aluminum hold up better than untreated pine. If building a bench, use 2×4 or 2×6 lumber for the seat and backrest, and mount to 4×4 posts set in concrete. Sand edges and apply a water-resistant stain or sealant annually.
Built-in benches save space and define zones. An L-shaped bench along a patio edge provides seating without blocking traffic. Add outdoor cushions for comfort, look for covers rated for UV and mildew resistance. Store cushions when not in use to extend their life.
For a more casual vibe, arrange Adirondack chairs or deep-seat lounge sets around a fire pit. This setup encourages lingering after the meal. Mixing seating types, bar-height stools at the grill island, dining chairs at a table, and lounge chairs in a conversation area, creates visual interest and accommodates different activities.
Consider a backyard entertaining layout that separates dining from lounging. This keeps foot traffic organized and prevents crowding around the grill.
If space is tight, folding or stackable chairs offer flexibility. Store them in a weatherproof deck box when not needed.
Lighting Ideas That Extend Your BBQ Hours Into the Evening
Good lighting makes a BBQ area usable after dark and adds safety. Layer three types: task, ambient, and accent.
Task lighting focuses on the grill and prep areas. Install a weather-rated fixture above the grill with a minimum 800-lumen output (about a 60-watt incandescent equivalent). LED gooseneck or track lights work well. If wiring into household power, follow NEC code for outdoor circuits: use GFCI-protected outlets, weatherproof boxes, and conduit for exposed wiring. Hire an electrician if unsure, incorrect outdoor wiring is a shock and fire hazard.
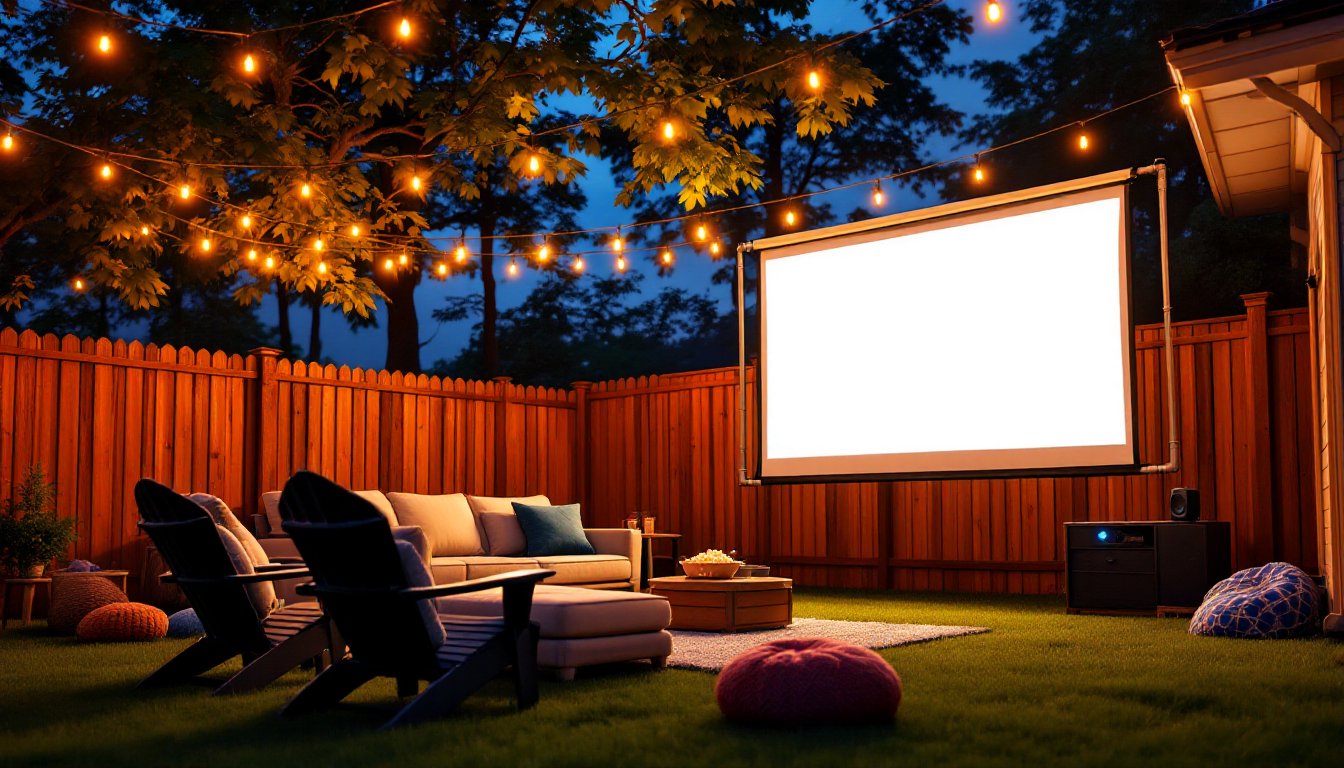
Ambient lighting sets the mood. String lights create a casual, inviting glow. Use LED Edison bulbs rated for outdoor use, they draw less power and last longer. Run the cable along a pergola beam or between posts. Secure with insulated staples, not nails that can puncture the wire. A dimmer switch adds flexibility.
Accent lighting highlights features like planters, pathways, or stone walls. Low-voltage LED landscape lights (usually 12V systems) are DIY-friendly and safer than line-voltage fixtures. A typical kit includes a transformer, cable, and spike- or surface-mount fixtures. Bury cable 6 inches deep to protect it from shovels and foot traffic.
Solar path lights need no wiring but depend on sun exposure. They work fine for decorative accents but don’t produce enough light for task areas. Popular home design ideas often incorporate solar options for budget-conscious projects.
For outdoor entertaining areas that see frequent use, hardwired lights on a timer or smart switch offer reliability without remembering to plug anything in.
Finishing Touches: Decor, Storage, and Accessories
Thoughtful details make a BBQ area feel complete without adding clutter. Start with durable storage. A weatherproof deck box holds grilling tools, charcoal, propane tanks, and seat cushions. Choose one with a lockable lid if storing flammables. A 120-gallon capacity box fits most needs and doubles as extra seating.
Add a tool rack or magnetic strip near the grill to keep tongs, spatulas, and brushes within reach. Hanging storage keeps tools off counters and prevents rust.
Include a trash and recycling station. Use a dual-bin stand with lids to contain odors and keep critters out. Empty bins regularly, nobody wants to grill next to last weekend’s leftovers.
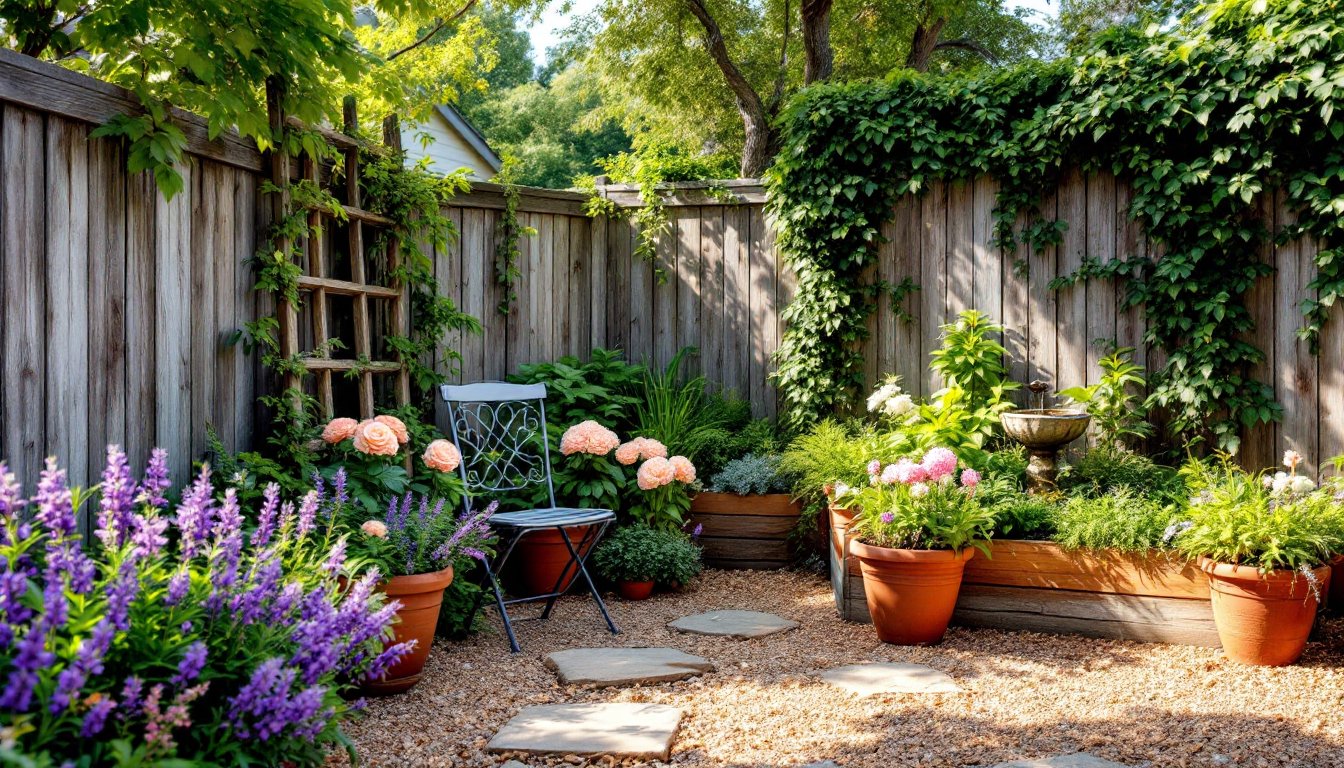
For decor, stick with weather-resistant materials: galvanized metal planters, ceramic pots, or concrete. Plant herbs like rosemary, thyme, and basil near the grill for fresh seasoning. Skip fussy annuals that need constant watering.
An outdoor rug defines the dining zone and adds color. Choose polypropylene or recycled plastic rugs that resist mold and rinse clean with a hose. Avoid natural fiber rugs, they mildew in damp conditions.
A beverage station keeps guests from crowding the grill. Set up a small table or cart with a cooler, ice bucket, and glassware. If budget allows, add a kegerator or wine fridge.
Consider a heat source for cooler months. A propane patio heater extends the season into fall and early spring. Place it away from overhead structures and never under a fabric awning. Alternatively, a fire pit adds warmth and ambiance: just check local fire codes and burn bans before lighting up.
Incorporate ideas from budget-friendly backyard projects for cost-effective upgrades that still deliver impact.
Conclusion
A functional BBQ area doesn’t require a massive budget or pro-level carpentry. Focus on smart layout, durable materials, and the features that match how the space will actually be used. Whether it’s a simple paver pad with a portable grill or a full outdoor kitchen, the goal is the same: create a spot that makes outdoor cooking easier and more enjoyable.